Wifi Bat Mounting Guide
Mounting Using the Supplied Brackets:
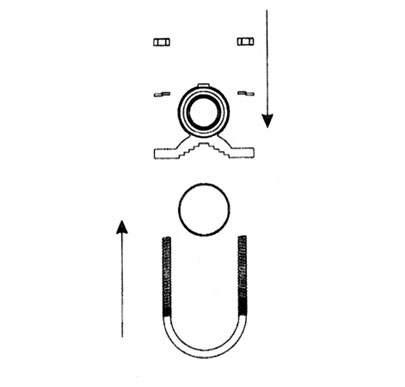
Step 1 of 3
- Assemble the mounting brackets with u-bolts as shown in the image below. The bracket fits around the aluminium section of the Wifi Bat antenna.
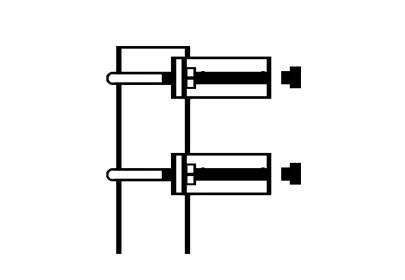
Step 2 of 3
- Fix the brackets into place using the screws supplied
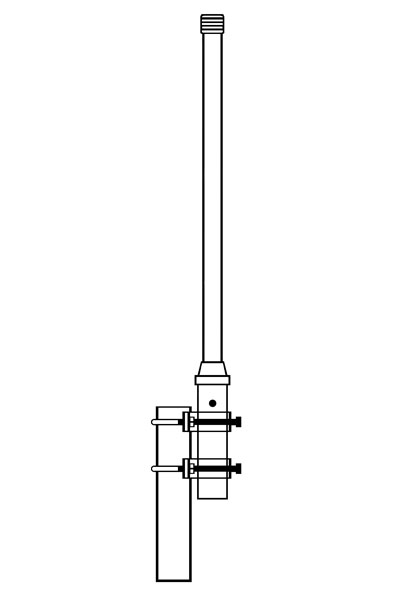
Step 3 of 3
- The u-bolts can be positioned around the pole or rail as appropriate. Slide the Wifi Bat into the bracket and tighten the screws
Mounting Tips!
 | Wifi antenna require line of sight to the access point (AP) they are connecting to, so consider hoizontal obstructions when mounting the device |
| Mount vertically to help achieve best performance |
| The Wifi Bat will work just as effectively if mounted upside-down. This is sometimes useful to avoid ropes catching. |
Mounting Examples
- Marine mounting on sailing vessel using supplied brackets.

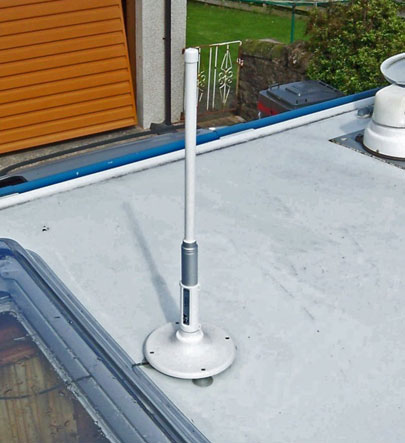
- Mounting on a caravan roof using customers' own bracket (customised Vision Plus Status 315 bracket)